
Installing a commercial dishwasher or glasswasher is a critical task that enhances the functionality and efficiency of your kitchen. In this comprehensive guide, we’ll delve into the step-by-step process of setting up these essential kitchen appliances. From selecting the right model to the final connections of water, drain, and electrical systems, we cover all you need to ensure a seamless installation.
Why Opt for Professional Installation?
Commercial dishwashers and glasswashers are sophisticated machines that require expert installation to operate safely and effectively. Although a DIY approach might seem feasible, the intricacies involved in electrical and plumbing setups demand technical knowledge and precision. Opting for professional installation mitigates risks and ensures adherence to safety standards, protecting your investment and securing operational efficiency.
Preparing for Installation
- Initial Setup and Safety Precautions
Before the installation begins, it is vital to prepare the area and the appliance. Start by transporting your new dishwasher or glasswasher to the designated location. Carefully remove all packaging and inspect the appliance for any damages. It’s crucial to keep all packaging materials away from children and pets to avoid hazards. Dispose of these materials responsibly at an eco-friendly waste disposal centre.
- Positioning Your Appliance
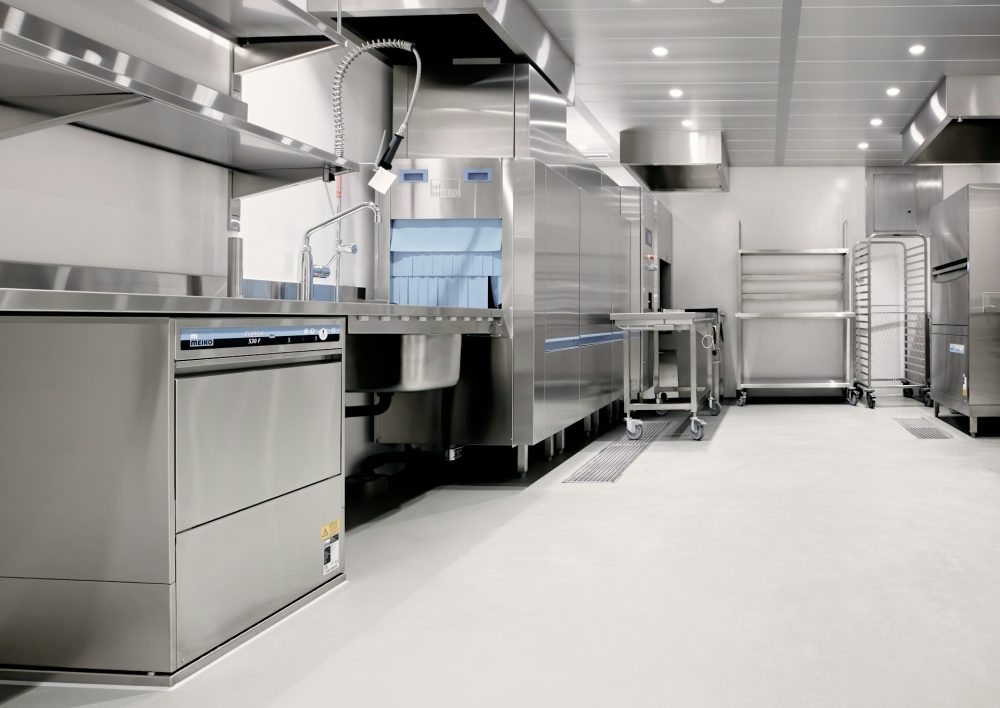
Proper positioning of your commercial dishwasher or glasswasher is crucial for optimal performance. Ensure the appliance is placed on a level surface. Use a spirit level to adjust the feet of the machine for stability. If the appliance is to be installed above ground level, make sure that both the stand and the unit are securely anchored to prevent any movement or tipping.
- Connecting to the Water Supply
A steady and precise water flow is essential for the effective operation of your appliance. Check the water intake pressure, flow rate, and temperature to ensure they align with your machine’s specifications. If necessary, install a pressure reducer or a booster pump to meet these requirements. Securely attach the water intake hose to both the appliance and the water supply to ensure a reliable connection.
- Drain Connection
Proper drainage is key to preventing operational disruptions and potential flooding. Verify the compatibility of the drain hose with the wall drain’s diameter and height as per your dishwasher’s specifications. Avoid kinks or sharp bends in the hose to ensure a smooth water flow. Use hose clamps to securely fasten the drain hose to the drain connection, considering the high temperatures of the expelled water.
- Electrical Connections
Safety is paramount when connecting your appliance to the electrical supply. This task should only be performed by authorised and skilled professionals. Confirm that the power supply matches the rated electrical characteristics listed on your machine’s data plate. If using a plug, ensure it is compatible with the socket and appropriate for your appliance’s requirements.
The Importance of Correct Installation
Choosing to install a commercial dishwasher or glasswasher represents a significant investment in your kitchen’s efficiency and productivity. While the installation process may appear daunting, proper planning and professional assistance can simplify the procedure. Whether you’re setting up an undercounter unit or a larger passthrough model, correct installation is crucial for ensuring long-term performance and safety.
By following these guidelines, you can ensure that your commercial kitchen is equipped with well-installed appliances that will serve your needs reliably for years to come. Remember, professional installation is not just a recommendation—it’s a wise choice for safeguarding your operations and achieving the best possible outcomes.